Welcome Emails
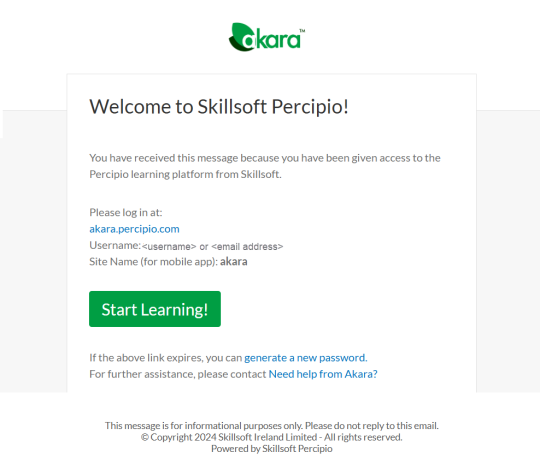
When the Welcome email campaign is on, Percipio sends welcome emails when users are added to Percipio. The email contains a link that when clicked automatically signs the user into Percipio. The link is active for 60 days and can only be used once.
If the learner attempts to click the link a second time, the link takes the learner to the login page of Percipio. The learner then has to enter their username and password. If the learner does not have an initial password set by the administrator, they receive a separate email with their password for subsequent sign ins.
Only learners receive this type of welcome email. Any other Percipio user role who receives a welcome email, is provided a link to the site, a username, and will require a password.
When working with welcome emails, you can:
- Turn the campaign on or off
- Configure welcome email settings
- Customize the welcome email templates
- Send the welcome email campaign
- Brand your email
Important information about the Welcome email
- The welcome email contains a link to your Percipio site that when clicked automatically signs the learner into Percipio. It is a one-time link. If a learner clicks that link a second time, the learner is prompted to sign into Percipio with the login credentials or via SSO.
- The learner must have a status of active and a valid email address included in the profile to receive the welcome email.
- If you scheduled a single welcome email to be sent while uploading users, you can cancel the email by unchecking the option prior to the scheduled send date.
- The date and time are based on your local system settings, not the recipients' settings.
- Your welcome email settings determine if the learner receives the welcome and reminder emails series or a single welcome email.
- If you scheduled a single welcome email to be sent while uploading users, you can cancel the email by clearing the option prior to the scheduled send date.
Turn the campaign on or off
This email campaign is on by default. You can turn it on or off.
- From the left navigation bar, select Emails & Notifications.
- Select the Settings tab.
- Select Email campaign settings.
- Use the toggle switch to change the state. Make any adjustments to the settings if available.
Configure email settings
When you turn on the welcome email, you can choose whether the user gets only one email or a series of emails if they don't take action on the first email.
The Configure Welcome email preference setting controls how many emails Percipio sends when creating users.
The setting choices are:
- Send full welcome email series to new users: All new users receive an initial welcome email. New users with access to at least one license pool can receive up to five additional reminder emails. This is the default setting. If a user does not access the site within a few days after receiving the initial welcome email, Percipio sends reminder emails until the user signs in.
- Send a single welcome email to new users by default: Percipio sends a single welcome email to all users by default, without any follow-on reminder emails.
If you select to send the series, you can choose which template gets sent for each email in the series. For each email, select the Email Template. You can choose between the Skillsoft Percipio Platform default email templates and custom email templates. If you choose Custom, you can customize the email subject line, header, pre-header, and introductory text. For more details, see Customize Welcome and Reminder Emails.
Welcome Email Series
Percipio can send an initial welcome email to all new and updated learners who have not received one before, along with a series of subsequent reminder emails. These are proven to increase user engagement and site traffic. For details, see the Why use welcome and reminder emails? section below.
These emails are personalized, using the learner's name, organization name, and user-entitled content, in order to help drive more of your learners to sign in and engage with Percipio. You can also customize the welcome email, choosing a subject line, header, preheader, and introductory text. See Customize Welcome and Reminder Emails.
The first email (the initial welcome email) contains a link to your site that when clicked, automatically signs the learner into Percipio. The five subsequent emails (reminder emails) are sent only if a learner does not sign in. These reminder emails are sent every 3 days until either the learner signs in or until all five are delivered.
Adopters of the welcome and reminder emails observed increases in the following:
- Adoption rates
- Overall traffic
- Number of learner sign-ins
- Number of page views
- Number of sessions
- Duration of sessions
Welcome emails and follow-up reminders are sent in a series, depending upon the learner's engagement.
The first email (the initial welcome email) contains a link to your site that when clicked, automatically signs the learner into Percipio.
Five subsequent emails (reminder emails) are sent only when a learner does not sign in. These emails are sent every 3 business days until either the learner signs in or until all five are delivered.
From Emails & Notifications, select Settings, then Email Campaigns, ensure the Welcome email is turned on and then select the option Send full welcome email series to new users.
Initial Welcome email: Percipio delivers the initial Welcome email when you:
- select the Send Welcome email checkbox on the New User page, specify a date, and click Create,
- select the Send Welcome email checkbox on the Edit User page, specify a date, and click Update,
- select the Send bulk Welcome emails checkbox on the Import User page, specify a date, and click Import, or
- select one of the send options on the Email Campaigns page.
Follow-up reminder emails: Percipio delivers follow-up reminder emails after the initial email is delivered, 3 days have passed, and the learner has not yet signed in. Follow-up emails are sent every few days until the learner signs in or until all five are delivered, whichever comes first.
For new sign-ins
- After you send out the Welcome emails, view data about the new sign-ins via the License Consumption report and the New vs. returning users chart on the Overview dashboard.
For traffic increase
- Filter the User Listing report to view first-time sign ins for a date range beginning the day you send out the Welcome email.
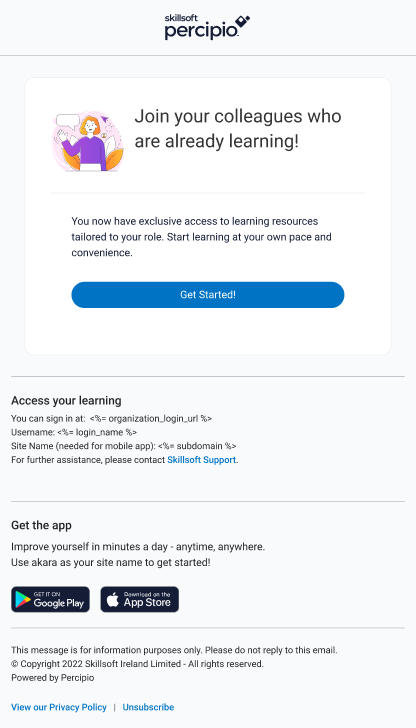
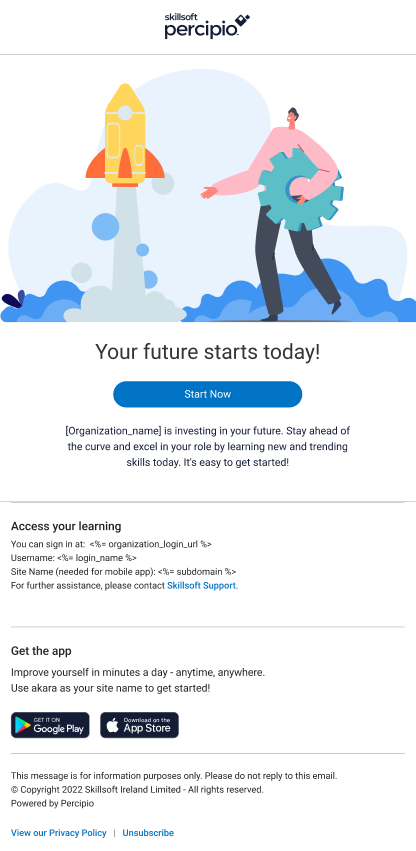
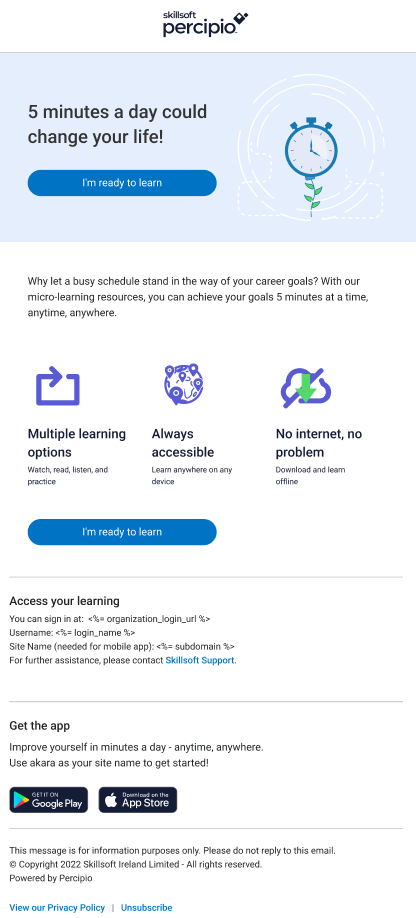
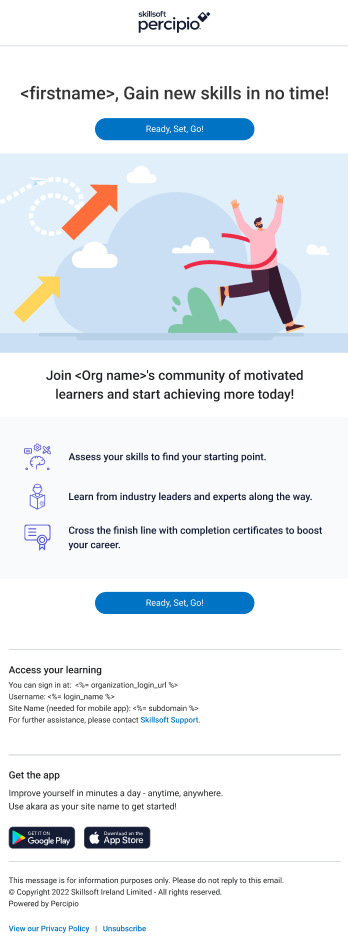
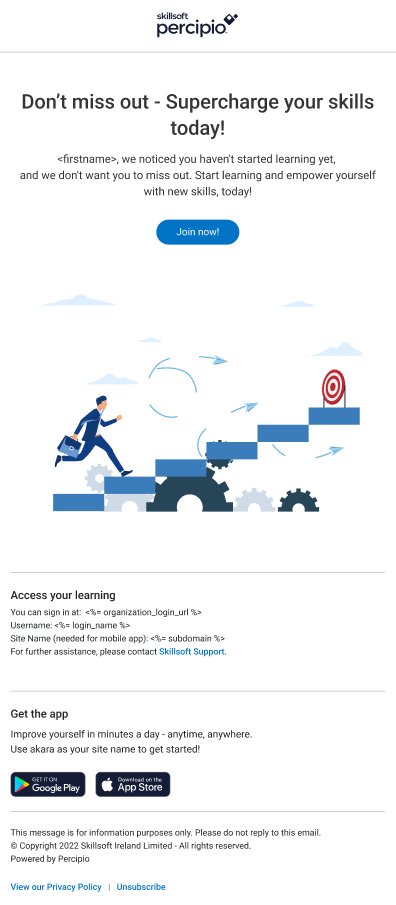
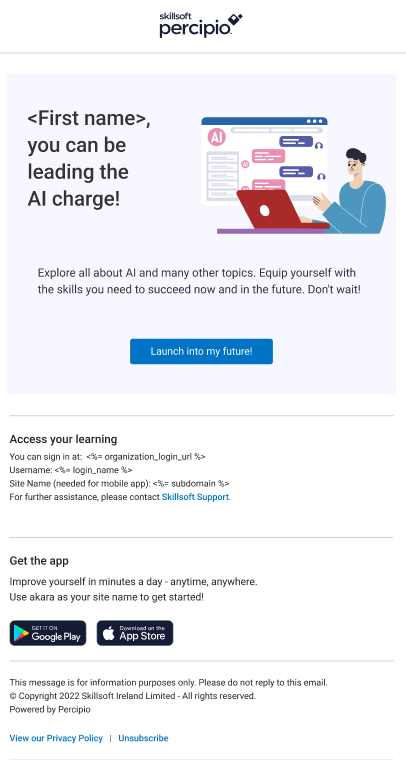
When you set up learners with Percipio accounts and send them a welcome email series, they can see up to six different welcome emails. Learners who do not sign in after receiving the initial Welcome email are sent up to five additional emails until they do sign in, or until all emails are delivered.
You can customize the welcome email series by choosing a template style and then adjusting the subject line, header, pre-header, and introductory text for each of the six emails.
Template #1 : Selected by default for the initial welcome email #1.
Template #2: Selected by default for the first reminder email if the user does not follow links in the initial email.
Template #3: Selected by default for the second reminder email.
Template #4: Selected by default for the third reminder email.
Template #5: Selected by default for the fourth reminder email.
Template #6: Selected by default for the fifth reminder email.
Yes.
From Email & Notifications, select Settings, then Email Campaigns and select the optionSend full welcome email series to new users.
Select Custom in the Email Template field and then click the Edit email button. On the Configure Welcome Email Series page, you can change the header, subject, preheader, and introductory text for each of the six emails.
For more details, see Customize Welcome and Reminder Emails.
Single Welcome Email
If you do not want Percipio to send a series of welcome and reminder emails, you can opt to send a single welcome email with a one-time link for your learners to sign into Percipio. If they click the link again, they are prompted to sign in using Percipio credentials or Single sign-on credentials. If Percipio does not have a password on file for the user, Percipio sends a separate email to the learner that allows them to set a password.
From Emails & Notifications, select Settings, then Email Campaigns and select the option Send a single welcome email to new users by default.
A single welcome email is sent when you:
- select the Send Welcome email checkbox on the New User page, specify a date, and click Create,
- select the Send Welcome email checkbox on the Edit User page, specify a date, and click Update,
- select the Send bulk Welcome emails checkbox on the Import User page, specify a date, and click Import, or
- click the Send Welcome emails button on the Email Campaigns page.
For more details, see Send a Welcome Email.
No. You can only customize the series of welcome emails but you can brand it.
Yes, you can brand emails with logos, colors, organization name, and from line. See Brand your email.
