Edit a Web Page's Details
You can edit the Skillsoft Platform-specific details of your uploaded file to aid your learners in the discovery of your content. You can only add published custom content to a custom channel.
-
Navigate to the hosted custom content.
- From the left navigation bar, choose Content > Content Items. The Manage Content Items page displays.
- Locate the content in the list.
- Select the title, or select the Actions menu
 , then select >
  Edit. The Edit Custom Content page displays.
- Describe your content. All the fields in this section help your learners decide if the content is right for them.
- Select one of the following options:
- Cancel: Discard all changes.
- Save unpublished changes(if you previously published) or Save as draft to return at a later date.
- Next: Add discovery information Progress to the final stage to add your discovery details.
- Include discovery details. All the fields in this section help your learners locate your content through search or browsing the library.
- Select one of the following actions:
- Cancel: Discard all changes.
- Save unpublished changes(if you previously published) or Save as Draft to save your changes for modification or publication later.
- Next: Review and finalize: Progress to the final stage to review your settings and publish.
- Review the details of your custom content. Select to Edit any details if necessary, then choose one of the following actions:Note: When you include a digital badge the badge title matches the content item title by default. You can edit the title on the digital badge. If you edit the badge title, it no longer automatically updates with changes to the content title unless you choose to reset the badge title to the default course title.
- Cancel: Discard all changes.
- Save as Draft: Save your changes for modification or publication later.
Next: Publish Content:
- If you chose the option: Make content immediately available to learners in search your content will be available through search to users in the audience you specified without any further action. If you want, you can assign it, promote it, and add it to custom channels and journeys.
- If you did not chose the option: Make content immediately available to learners in search, your content gets published to the Skillsoft Platform server and then you must add it to a custom channel or journey and publish the channel or journey so learners can access it.
-
Select to Publish your content or Save as draft for editing at a later date.
-
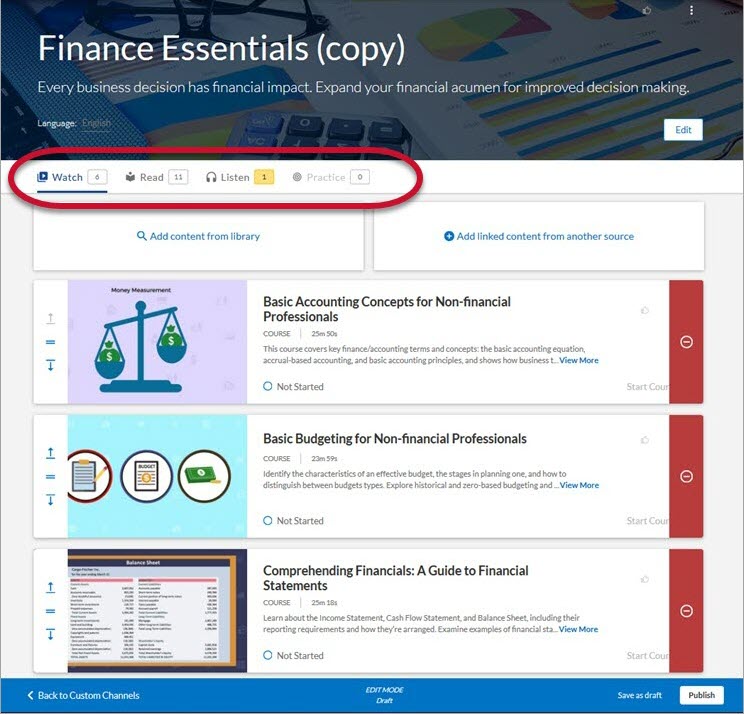
To add the item to a journey, see Editing a Journey. To add to a custom channel follow these steps:
- On the Content > Channels page, select the name of the channel to which you want to add the custom content. The Edit Channel page displays.
- Select Add content from library.
- Enter item's title.
- Select
 .
.
Note: If you recently published your item to the Skillsoft Platform's server, it may take several minutes to display in your search results.- Locate the item and click
 to add it to the channel.
 - Select Done to save the channel.
- Select Publish to publish the channel to the platform.
The number of assets in each modality updates in yellow. To see the newly-added item, click the appropriate modality tab.
Learners can now find your custom content in the library or by searching.
You can only add published custom content to a custom channel.