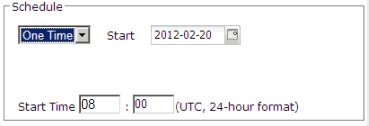
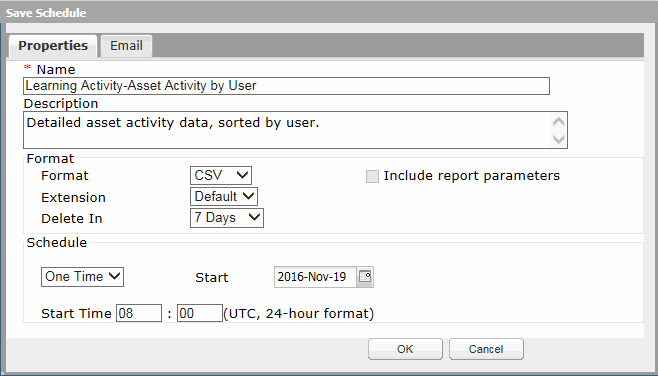
In the Schedule section, select the type of schedule you want to create from the drop down. Complete all fields as described below. Note: The time zone for all schedule Start times is UTC.
 One Time Schedule
Create a one time schedule if you only need a snapshot of the data for one period in time.

Complete all fields as described below.
- Start - (Required) Determines the date the schedule should become active. The schedule will run the report once and not reoccur. Default is next day's date.
- Start Time - (Required) Determines the time of day the report will be queued for execution. For best performance, the default start time is a random time between 07:00 and 11:55 UTC. However, you can change this to meet your specific needs.
 Daily Schedule
Create a daily schedule if you need the report to run on more than one day a week.

Complete all fields as described below.
- Start - (Required) Determines the date the schedule should become active. Default is the next day's date.
- End by - Determines the date the schedule becomes inactive and reports stop running. If left blank, the report will reoccur indefinitely.
- On the following days - Determines which days of the week the report will run. Select one or more days.
- Start Time - (Required) Determines what time of day the report will be queued for execution. For best performance, the default start time is a random time between 07:00 and 11:55 UTC. However, you can change this to meet your specific needs.
 Weekly Schedule
Create a weekly schedule to run the report on only one day of the week.

Complete all fields as described below.
- Start - (Required) Determines the date the schedule should become active. Default is the next day's date.
- End by - Determines the date the schedule becomes inactive and reports stop running. If left blank, the report will reoccur indefinitely.
- On the following day - Determines which day of the week the report will run. Select only one day.
- Start Time - (Required) Determines what time of day the report will be queued for execution. For best performance, the default start time is a random time between 07:00 and 11:55 UTC. However, you can change this to meet your specific needs.
 Monthly Schedule
Create a monthly schedule to run the report on the same day of each month.

Complete all fields as described below.
- Start - (Required) Determines both the date the schedule becomes active and the day of the month the report will run. If the date is 29, 30, or 31 the report will not run for months that do not contain that date. Default is the next day's date.
- End by - Determines the date the schedule becomes inactive and reports stop running. If left blank, the report will reoccur indefinitely.
- Start Time - (Required) Determines what time of day the report will be queued for execution. For best performance, the default start time is a random time between 07:00 and 11:55 UTC. However, you can change this to meet your specific needs.
If desired, click the Email tab to configure the Email Notifications feature.
