Add a Policy
Use the Policy tab to add required information that your learners must read before starting the questionnaire or assessment. You can enter introductory text, and you can add a link to an external site, or attach a document.
When you add a policy, learners are required to read or view the policy before they can continue answering questions.
To add a policy
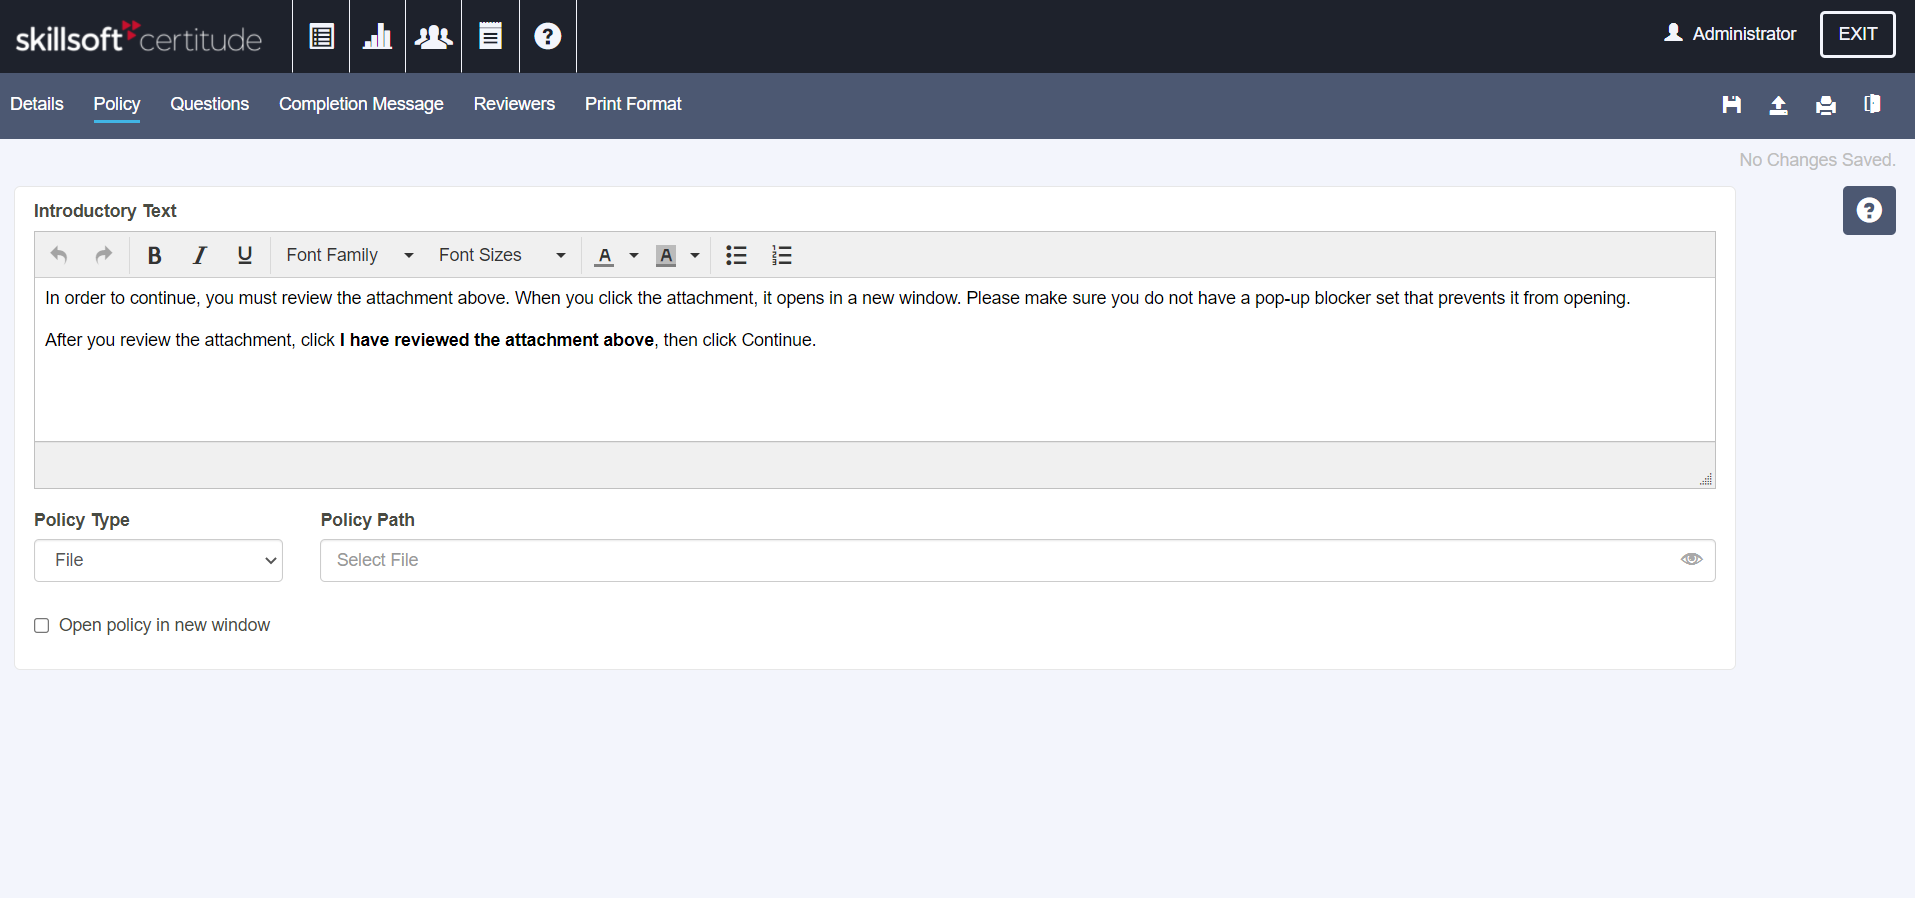
- Click the Policy tab.
- Under Introductory Text, modify or format the text as desired.
- If you paste text into this field from an external source, formatting may be lost.
- Click the Policy Type drop down and select either File or Link.
- If you select Link, enter the URL in the Policy Path field.
- If you select File, click in the Policy Path field and select a file from the drop down. Supported file formats include .pdf, .png, .gif, .bmp, .jpg, or .jpeg. (maximum file size 10 MB).
- If no files are available, upload files with the File Manager.
-
Preview the policy by clicking the Preview Policy icon. By default, the preview opens in a new pop up within the user interface — this preview mimics how the user views the policy. Ensure the preview displays as you expect.
When you use a Link, security issues may prevent the policy from displaying in the pop up. If you get an error message while attempting to preview, try using the suggested solutions shown in the error message. If the suggested solutions do not work, select the Open policy in new window checkbox.
Selecting the Open in new window checkbox loads the policy in a new browser window or tab. When the policy loads in a new tab or window, users may find it hard to locate and pop-up blockers may prevent the policy from loading. For these reasons, we recommend keeping the option unselected whenever possible.
- After the preview loads correctly, select Save.