Manager Guide
Welcome to the manager role in Percipio. A couple of things to keep in mind with this role:
- Your site admin must assign you as an audience owner to one or more audiences before you can perform any administrative functions. If you are not an audience owner, you will not see any users in reports or for making assignments.
- You can carry out any administrative function, for which you have permission, only to users in audiences that you own.
- Any function you perform can also be seen and managed by site admins.
- Site admins can customize the manager role so you may not be able to access everything listed on this page.
By default, managers can do the following:
If your site admin customizes the manager role, you may also be able to:
Run reports
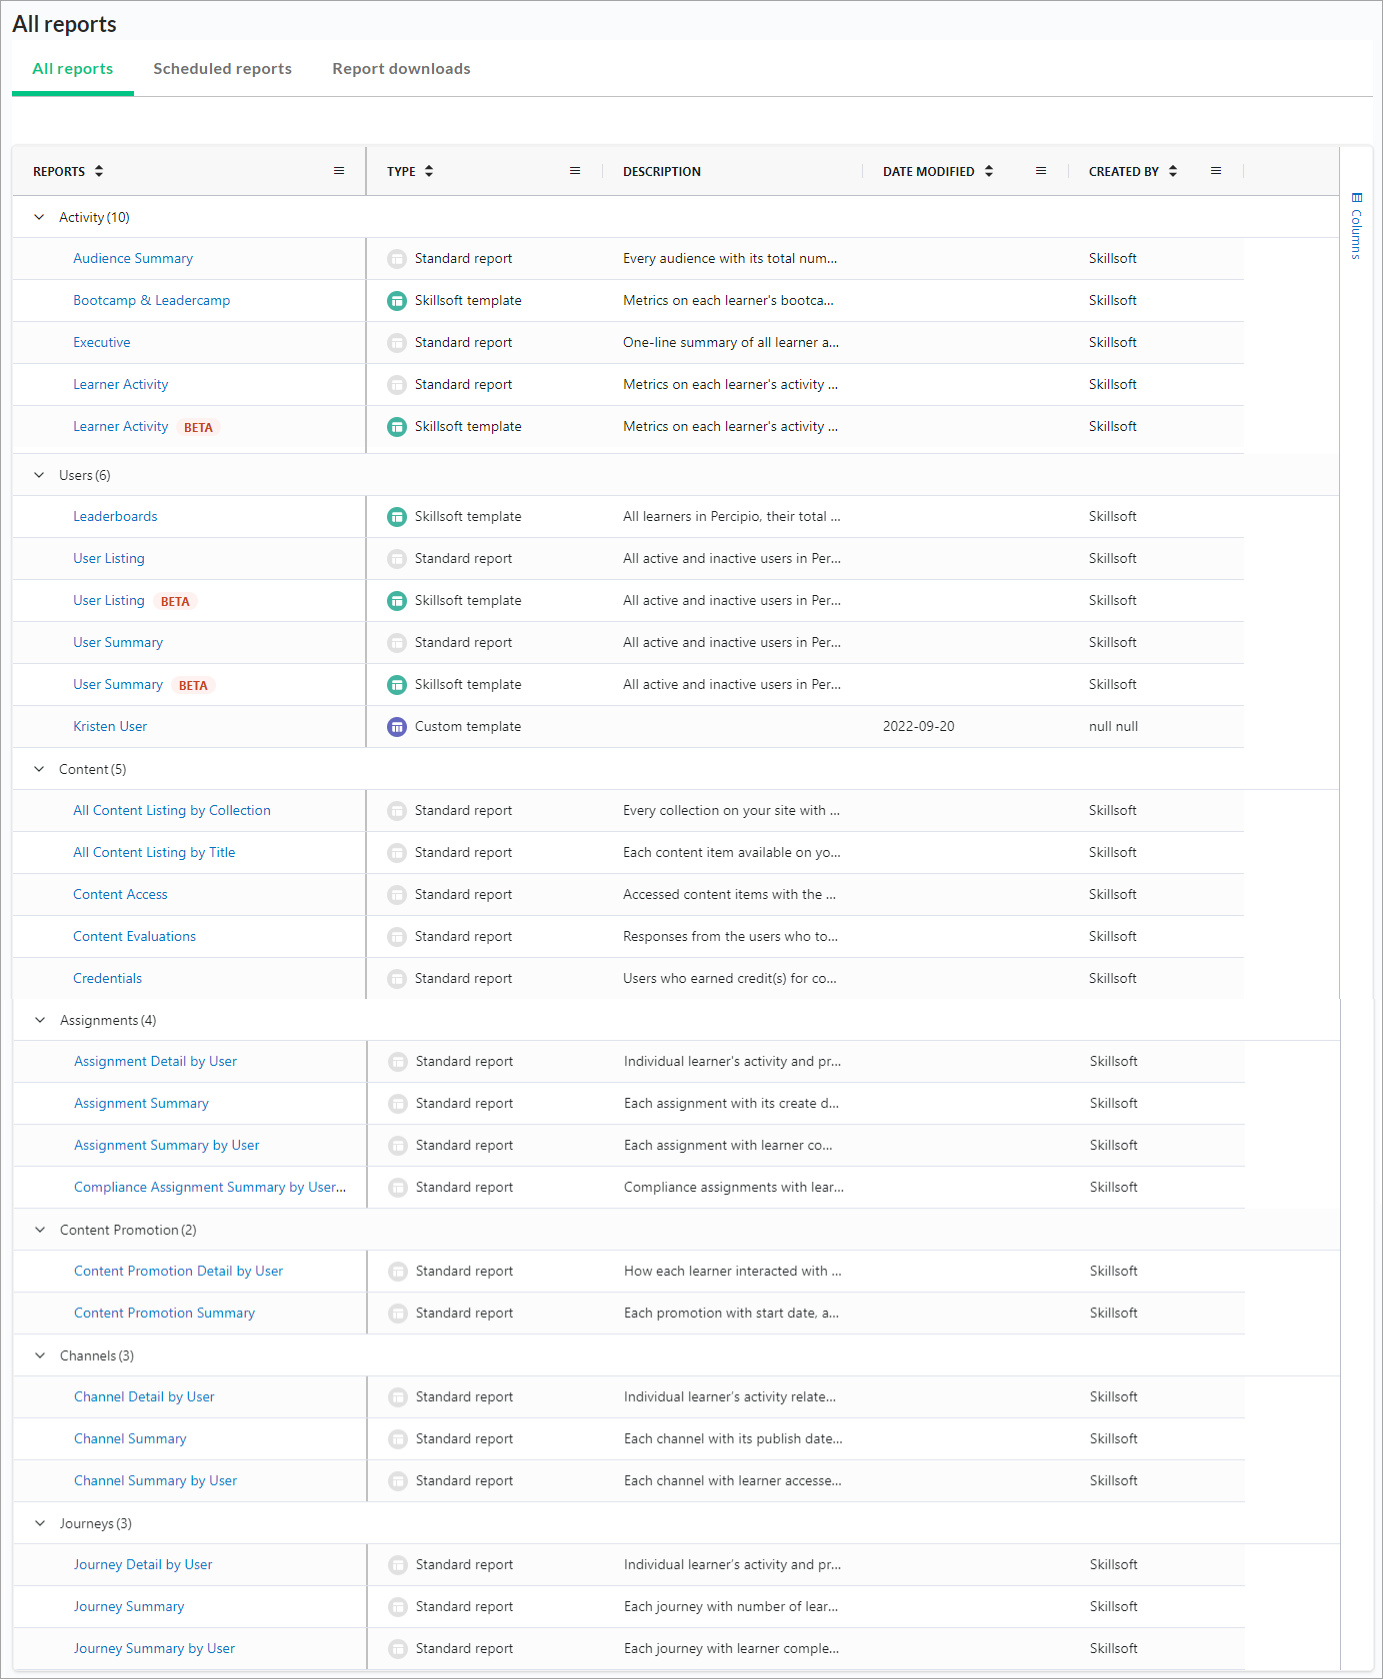
Percipio offers many reports. The ones most managers find most valuable include:
- User summary: A report that shows a summary of each users' learning.
- Learner activity: A near real-time report that shows all learning activity for each learner.
To run a report:
- From the left navigation bar, select Analytics.
- Switch to the All reportstab. A full listing of reports and their descriptions displays.
- Select the report from the list.
- Apply global filters to get the data you want.
- Select Update table. The report data displays on the screen. At this point, you can:
- Download the report: Take the report out of Percipio into a spreadsheet application for further analysis.
- Create a report schedule: Specify how often you want this report to run and get notified when it is ready to view.
NOTE: If you attempt to run a report and see no results it could be that your filters are too strict or you do not own an audience. If you adjust filters and still see no results, speak with your site admin to ensure you own an audience.
For more information about reports, see View all reports.
Make assignments
When you make assignments, you help learners plan their learning and ensure they are learning things that are important to their career advancement and your business. If you do not see this option, speak with your site admin.
To make an assignment to users in your audience or to your entire audience:
- From the left navigation bar, select Learning > Assignments.
- Select New assignment.
- Follow the steps on screen to select due dates, users, and content.
For detailed information on fields within the assignment workflow, see Create assignment.
Manage users
If you do not see these options, speak with your site admin.
To check which users are in your audiences:
- From the left navigation bar, select Users > User Management.
- Review the list of users. If your permission allows, you can also:
- Select the Create user button to add a user to your audience. When doing so, you must specify the user attribute fields that define your audience, otherwise you won't see the user.
- From the Actions menu, select Edit to update a user's information including their password.
For more information on user management, see create new users or edit a user's information.
To check which audiences you own:
- From the left navigation bar, select Users > Audience Management.
- Review the list of audiences. You cannot change audience characteristics, only view the users that are members of your audience.
Add promotions
Promotions show to learners on their home page. You can create two types of promotions a banner that shows at the top or a strip that displays in the middle. Promotions help you let learners know what is important for your company. If you do not see this option, speak with your site admin.
To promote content:
- From the left navigation bar, select Learning > Content promotions.
- Select Create new promotion.
- Choose the type of promotion, banner, strip, or image.
- Follow the stepped workflow to specify the details for your promotion and activate it.
For more information about creating promotions, see one of the following:
Manage content
Managing content allows you to add custom content to the Percipio platform for use by everyone in your company. The only time you would be able to add content just for your users is if the custom channel or journey is only available to your audience.
You might want to add content if you have an article or video that you want to assign to users and track whether they completed it. Or perhaps, your team created a custom course for how to use an internal system or process.
If you do not see this option, speak with your site admin.
To add custom content:
- From the left navigation bar, select Content > Content items.
- Select the Add custom content item button.
- Select the type of content you want to add.
- Follow the stepped workflow to specify all the details about the custom item you are adding.
- After you publish your content item, you must add it to a channel or journey and publish that for users to see the content. After content is published, you can add to promotions and assignments.
For more information about the field and process for adding custom content, see Process for adding custom content.
