CAISY™ for Conversations
The CAISY for Conversations app allows you to create role-playing simulations in which learners practice difficult conversations by chatting with an AI coach.
You can access all simulations you created from the CAISY for Conversations page. Here, you also see simulations you have been invited to collaborate on within the selected workspace. For detailed instructions on creating a new simulation, see Create a CAISY for Conversation.
Access the CAISY for Conversations app
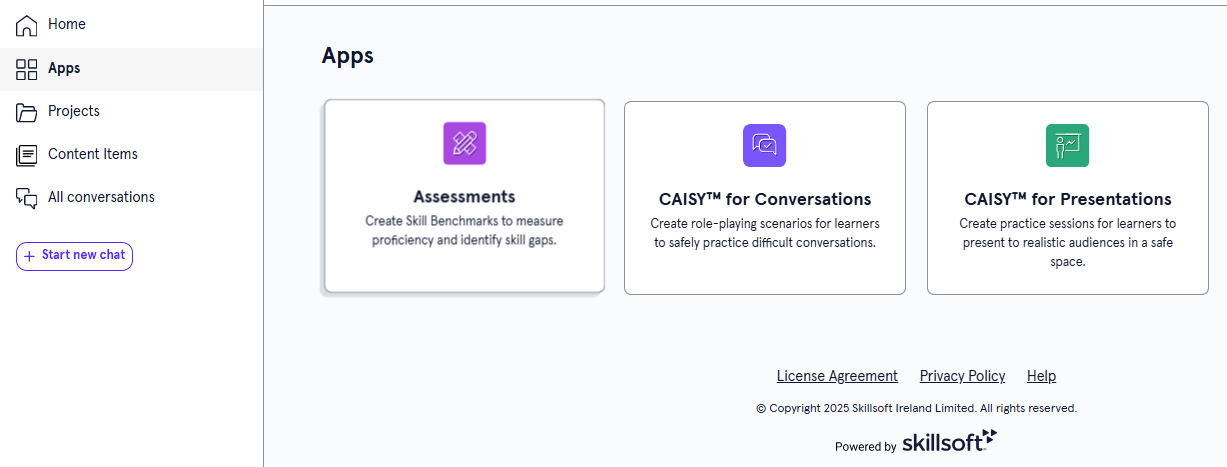
To access the CAISY for Conversations app, from the Home page or Apps page, select CAISY for Conversations .
Find a CAISY for Conversations simulation
You can find content from three separate locations, the main app page, the Content item page, or the Project page. The first thing to note, however, is your workspace. You can only find content if you are in the selected workspace. To find a specific simulation:
- Open the page:
- Main app page: From the Home page or Apps page, select CAISY for Conversations
. You now see the CAISY for Conversations
page.
- Content items page: From the left navigation bar , select Content items.
- Project page:From the left navigation bar, select Projects, then select the project containing the item.
- Main app page: From the Home page or Apps page, select CAISY for Conversations
. You now see the CAISY for Conversations
page.
- You can do one of the following to find a simulation on any of the pages:
- Search for a specific one. If you know the name of the content you are looking for, you can use the search bar to locate it.
- Change the order of how the content displays in the list:
- Use the drop-down to order by date modified.
- Sort the column headings to order by Status, Date modified, or Modified by.
- Use the filters at the top to narrow the list. Depending on the page, some options may include:
- Viewing all content, or just the ones created by you.
- Show only content that is ready to publish
- Status or type
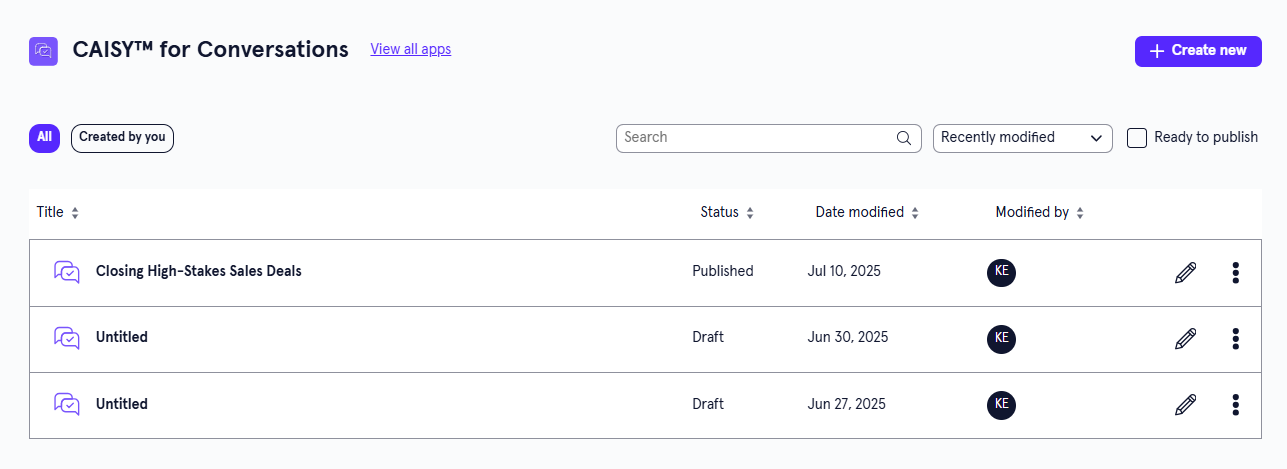
CAISY for Conversations page overview
For each simulation in the list, you see the following information:
- Title: This is the name given to the simulation.
- Status: The statuses you may see are:
- Draft: The simulation has been created, but has not yet been published.
- Published: The simulation has been published to the platform and is available for learners to see.
- Unpublished Changes: The simulation has been published to the Skillsoft Platform, but further edits have been made in LX Design Studio. You may want to revisit this content for publishing. Learners see the last published version of the content item in the Skillsoft Platform.
- Stage:
- Ready to Publish: Creators without publishing privileges can mark content as Ready to Publish to signify to creators with publishing privileges that the content is ready to be published to the Skillsoft Platform.
- Date modified: The date the simulation was last modified.
- Modified by: The creator who most recently modified the simulation.
Depending on your permissions and the status of the content, you may see the following actions to the right or under the Show options menu ![]() for each:
for each:
- Edit: Opens the content so you can make any changes to the details. For more detailed information on editing content, see:
- View details: Allows you to view the Content details and Design brief. When you are viewing the details of the content, you have the ability to share and comment on the item.
- Preview: Opens a preview of the content item as a learner would see it.
- Duplicate: Creates a copy of the content in the same project so you can update it without impacting the original.
- Archive: If the content has already been published, you can archive it so that you no longer see it in your Projects, Apps, or Content Items pages. It is moved to a separate Archived Items page. You can access all archived content from your profile drop down. The archived content is still available to learners in the platform unless you retire it from your Skillsoft Platform site.
- Move: Moves the content to a different project or workspace.
- Delete: If a content item is still in a draft status, you can delete it from LX Design Studio. When you delete content it is moved to a Deleted Items page. You can access all deleted items for up to 30 days from your profile drop down.
Share the CAISY for Conversation
After you create the content, you can share it with others on your team to get their feedback. These team members must have a Skillsoft platform user account, but do not have to have access to LX Design Studio. When you share, the members get an email notification with a link to the content item. If those users do not have access to LX Design Studio, when they click the link in the email, it opens in a preview mode in the Skillsoft platform. All users can make and respond to comments.
To share your content with others on your team:
-
From the main content page, locate the item you want in the list.
-
From the Show options menu, select View details.
-
On the Details page, select the Share button. The Share content dialog box displays.
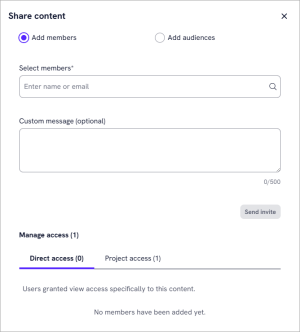
-
Select either Add members or Add audiences. Select Add members when you want to add one or more individual users to receive the email share request. Select Add audiences when you want to add one or more audiences whose members should receive the email share request. If you do not have access to more than one audience, you do not see the Add audiences option.
-
Start typing the name of the users or audiences who should receive the email in the box. Select the name from the list. Only users and audiences defined in the Skillsoft Percipio platform show in the list. If the user you select does not have the LX Design Studio privilege or is a member of the workspace, they will not be able to access the link from the email and comment.
-
Specify a personal note in the Custom message box.
-
Select whether the users or audiences should have access to just the content or to the project in which the content resides.
-
Select Send invite. The users get an email with a link to the content so they can review and comment.
Make and manage comments
As the content owner or reviewer of a content item, you have the ability to make comments, review comments, resolve comments, and delete comments.
You get notified by email when:
- You are @mentioned in a comment
- You receive a reply to your comment (child comment), even if you are not tagged
- A non‑owner adds a comment, and you are the owner
- Content is shared with you for review
- A content access request is submitted
- An access request is approved or declined
When there is a notification, you also see a red dot indicator in the top navigation in the comment or bell icon depending on where you are in LX Design Studio.
To access comments:
- You have multiple ways to access comments:
- From the content item: From the main content page, locate the item you want in the list. From the Show options menu, select View details. On the Details page, select the Comment button to open the comment pane.
- From an email: Select the link from the shared email. The content item opens with the comment pane expanded.
- From the top navigation bell icon: You can also access comments from the bell icon in the top navigation. Select the bell icon to see all the comments and select one to open the comment pane.
- With the Comment panel open, you see all comments made. You can:
- Start a new comment thread by typing your comment in the bottom box.
- Respond to an existing comment by selecting the reply to comment button or selecting from the emoji options.
- Resolve the comment to let others know you addressed it.
- Delete the comment to remove it all together because it's not relevant.
- Close the Comment panel when you are done commenting and reviewing other comments.
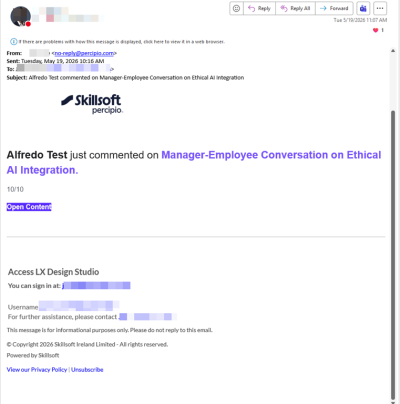
Sample email
When you share or make a comment, recipients get an email notification in addition to in app notifications in the top navigation. A sample email notification follows.