Email Notifications Main Page
Use the Email Notifications Main page to manage all email notifications. To access the page from the Compliance menu, click Setup and select Email Notifications.
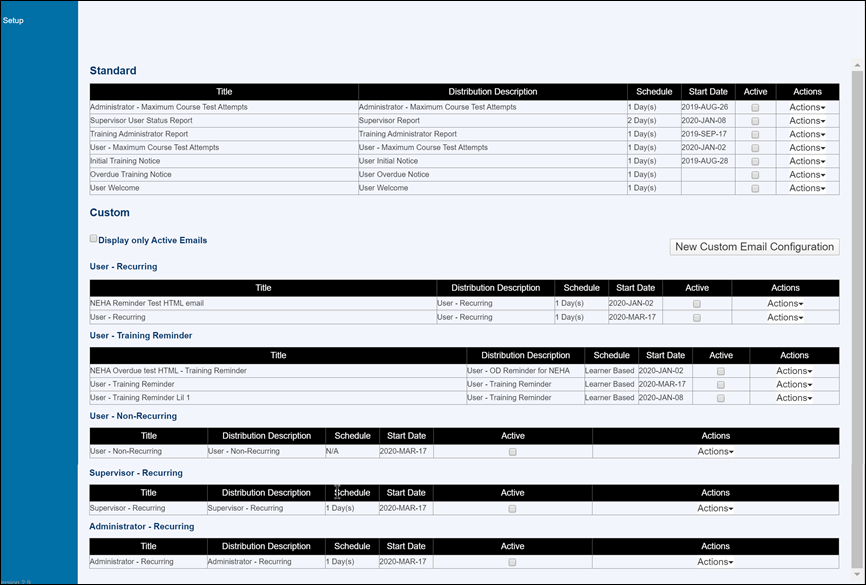
On the main page you can:
- See all Standard emails.
- See all Custom emails, listed by type.
- Click New Custom Email Configuration to create a custom email.
- For custom emails, display only the active emails.
- For each email, view:
- Title: You can change the title of custom emails, but not standard emails.
- Distribution Description: Defines the initial list of recipients and may include the email type. When editing an email, this is the value in the Distribution List Title field. Initial recipients can include:
- User: Users who are assigned the course(s) included in the email.
- Supervisor: The supervisor of the users assigned the course(s).
- Administrator: The administrator of the users assigned the course(s).
- Supervisor Level 2: The level 2 supervisor of the users assigned the course(s).
- Schedule: Defines the frequency.
- Recurring emails: Number of days, weeks, or months the email is sent.
- Training reminder emails: Learner Based. The system performs a nightly check to determine which users are sent emails.
- Non-recurring: N/A
- Start Date: The date the system starts evaluating the email. The first email is sent the following day.
Note: If you want to allow supervisors and level 2 supervisors to receive training reminder emails about their users, you'll need to add an email address for those supervisors to each user's information. Since you cannot edit a user's information in Compliance, you must add the supervisor email address to a user attribute field in Percipio. Once the emails are available in Compliance, you can map the attribute to the user data on the Setup >Percipio Settings page. For more information, see Map Supervisor Emails. - Activate or inactivate an email by checking in the Active column. If you edit an email, you must reactivate it.
- Use the Actions menu for Standard emails and select one of the following options:
- Info: Review all setup options used in this email including Start Date, Frequency, Distribution list, etc.
- Edit: Edit the email options. Some fields for standard emails cannot be modified.
- Reset: For edited standard emails, reset all options to the default settings.
- Use the Actions menu for Custom emails and select one of the following options:
- Info: Review all setup options used in this email including Start Date, Frequency, Distribution list, courses, etc.
- Edit: Edit the email options.
- Copy: Copy the email. Useful if you want to edit some, but not all fields.
- Delete: Delete the email.
Note: Custom emails are listed only after you create them.