Create a New Group
If you are a Company Admin within Skillport, you can create groups.
To create a group manually
- Click Users & Groups > New Group on the navigation bar.
The New Group dialog box displays.
- Enter the information for the new group:
- Name: Group names are limited to 240 characters.
- Org Code: This code, limited to 240 characters, uniquely identifies the group in the system (group names do not have to be unique). If you do not specify an organizational code, the system assigns one automatically using the format org_<number> (for example, org_18). You can change the org code at any time.
Acceptable characters include all Latin-1 characters (codes #161-#255 inclusive), a-z, A-Z, 0-9, _ and -
- Display on Registration Page: Select this option to make the group available on the self-registration page.
- Group Type: Depending on the configuration of your site, you may be able to select from one or more of the following: normal (organizational), assignment, and advanced.
Note: By default, the new group inherits the content assignments of its parent group. The default is to create the new group at the top-level of the group hierarchy.
- To change the parent group for the new group:
- Click Edit next to Parent Group.
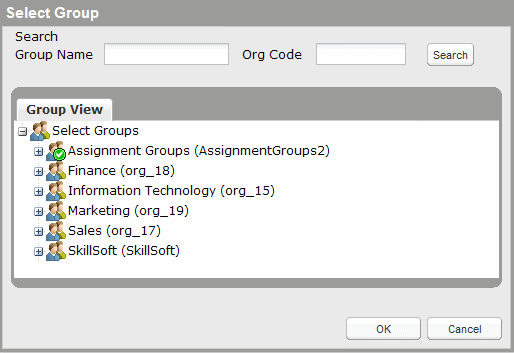
The Select Group dialog box displays:

- In the Group View tab, select the parent group.
You can also search for a group by Group Name and/or Org Code. If needed, you can enter an asterisk (*) as a wild card that represents one or more characters.
- Click OK.
The Select Group dialog box closes.
- Click Edit next to Parent Group.
- Click Save.