Create a New Custom Subject
Prior to working with custom areas and subjects, see Area and Subject Best Practices.
To create a new custom subject
- From the left navigation bar, select Content > Areas & Subjects. The Custom Areas page displays.
-
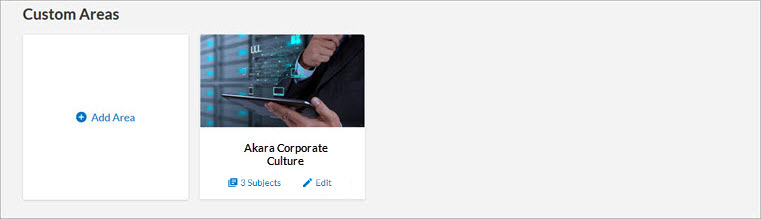
- Locate the area to which you want to add a new custom subject and select 0 Subjects. The area page displays.
- Select + Add Subject. The Add Subject page displays.
- Select as many languages where this subject will show to learners when the learner's site language is something other than English. For each language you select, you have to add a translated title and description. All other settings including the image are static for all languages. You cannot save the subject until all information is saved for all languages selected.
- Enter a Subject title. This displays in the library to your users. If you selected multiple languages, change your language from the drop down and enter a translated title for each language you selected.
- Enter a Description. This displays in the library to your users. If you selected multiple languages, change your language from the drop down and enter a translated description for each language you selected.
- Optionally, select Learners can select this subject as a skill and receive recommendations if you want this subject presented to learners when they select their skill interests.
- Choose an image. The image displays on the Browse library page.
- Images should be in a 16x9 aspect ratio.
- The recommended size for the image is 1920 x 1080px.
- The file size must be 300k or less.
- A .jpg format is preferred, but you can upload .jpg, .png, and .gif files.
- If you do not have a custom image, you can select a royalty-free one from the image gallery or use the default Skillsoft Platform image.
- If you know which channels and journeys you want to show under this subject, select Add channels and journeys. You can search for and add both custom and Skillsoft channels and journeys.
If you do not know which channels or journeys you want to add or have not yet created them, you can skip to step 10 and publish your Subject.
- Select Publish. If you selected multiple languages, you must specify a translated title and description for all languages before you can publish.
- The new custom subject does not display in the library until you add channels or journeys that contain published content. For more information on content visibility, see Content Visibility Rules.
Note: You can also add custom channels to your custom subject by following procedures in Create a New Custom Channel, and ensure you select the custom area and subject from the Subject drop-down list.